I have recently finished a massive transformation of my garage. Well, I say its finished but anyone with a house knows projects are never really finished. But for the sake of my wallet and my wife's sanity it is finished for now. This has been going on for months with something happening every once and a while based on me being willing to spend money or waiting for items to go on sale, and I didn't want to post this until it was mostly complete.

The garage was mostly organized as I already had taken up an entire wall with FastTrack from Rubbermaid which I used to hang anything I could find a hook for (and 3D printed hooks for things I couldn't find hooks for). I had already installed some nice recessed LED lights, a drop down attic ladder and repurposed some old ceiling fans taken down from inside the house. Although this two car garage actually housed two cars and was semi-organized, it was lacking in some areas. The whole garage only had two power outlets, one for the garage door and one where the computer and 3D printer were located. The floor was in a very sorry state, and overall the whole garage just looked chaotic. I knew I would have to move the FT-5 printer out to the garage to join the Bukobot and one of the next projects will be cleaning the "junk" out of the office. Since most of the stuff coming out of the office consists of DIY maker parts and only referred to as "junk" by "normal people," I needed to find a way to organize and store it all for future projects. Cabinets are the obvious choice for this task so that is where I started.

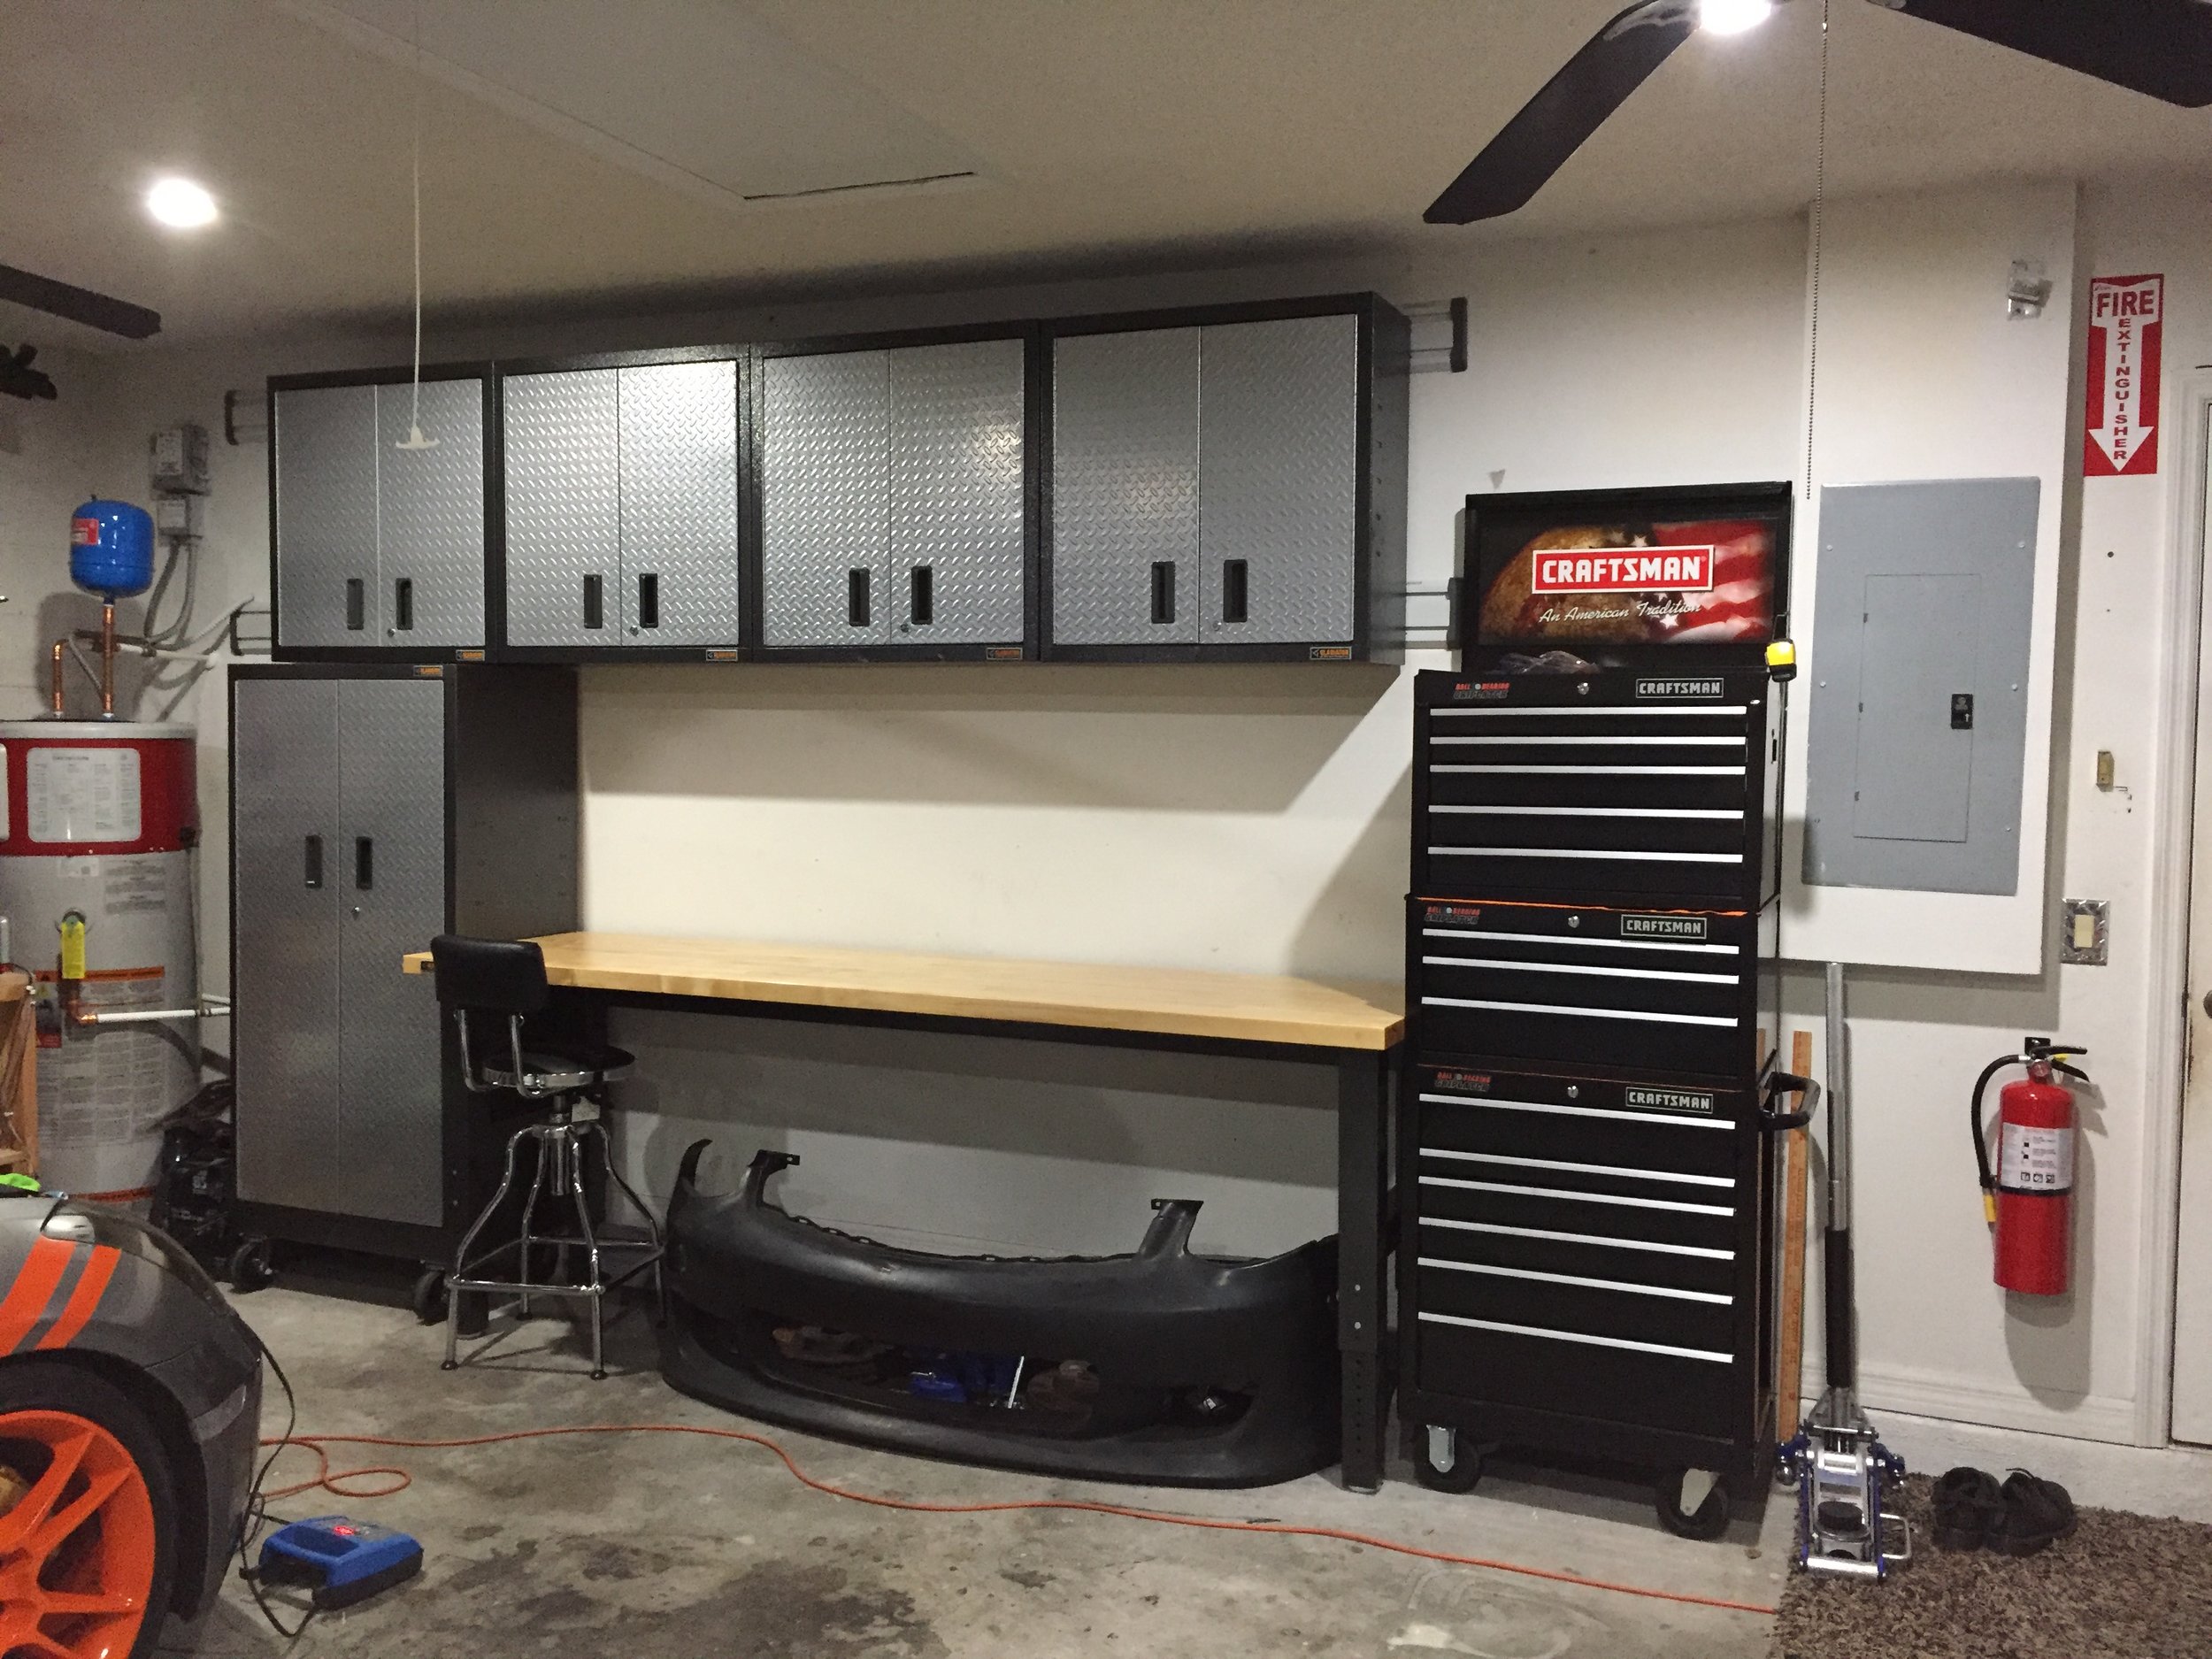
I chose Gladiator Garageworks Premier line cabinets which are manufactured by Whirlpool. The Premier line feature fully assembled and welded box cabinets with a heavier gauge steel than their basic ready to assemble units. The 30x30x12" cabinets up top retail for around $220 but they often go on sale, seemingly quarterly, for $100 each. That is when you need to buy them. I would like to point out that you should avoid buying them online and having them shipped to your house. You can read the reviews on Amazon if you don't believe me. They will arrive damaged.
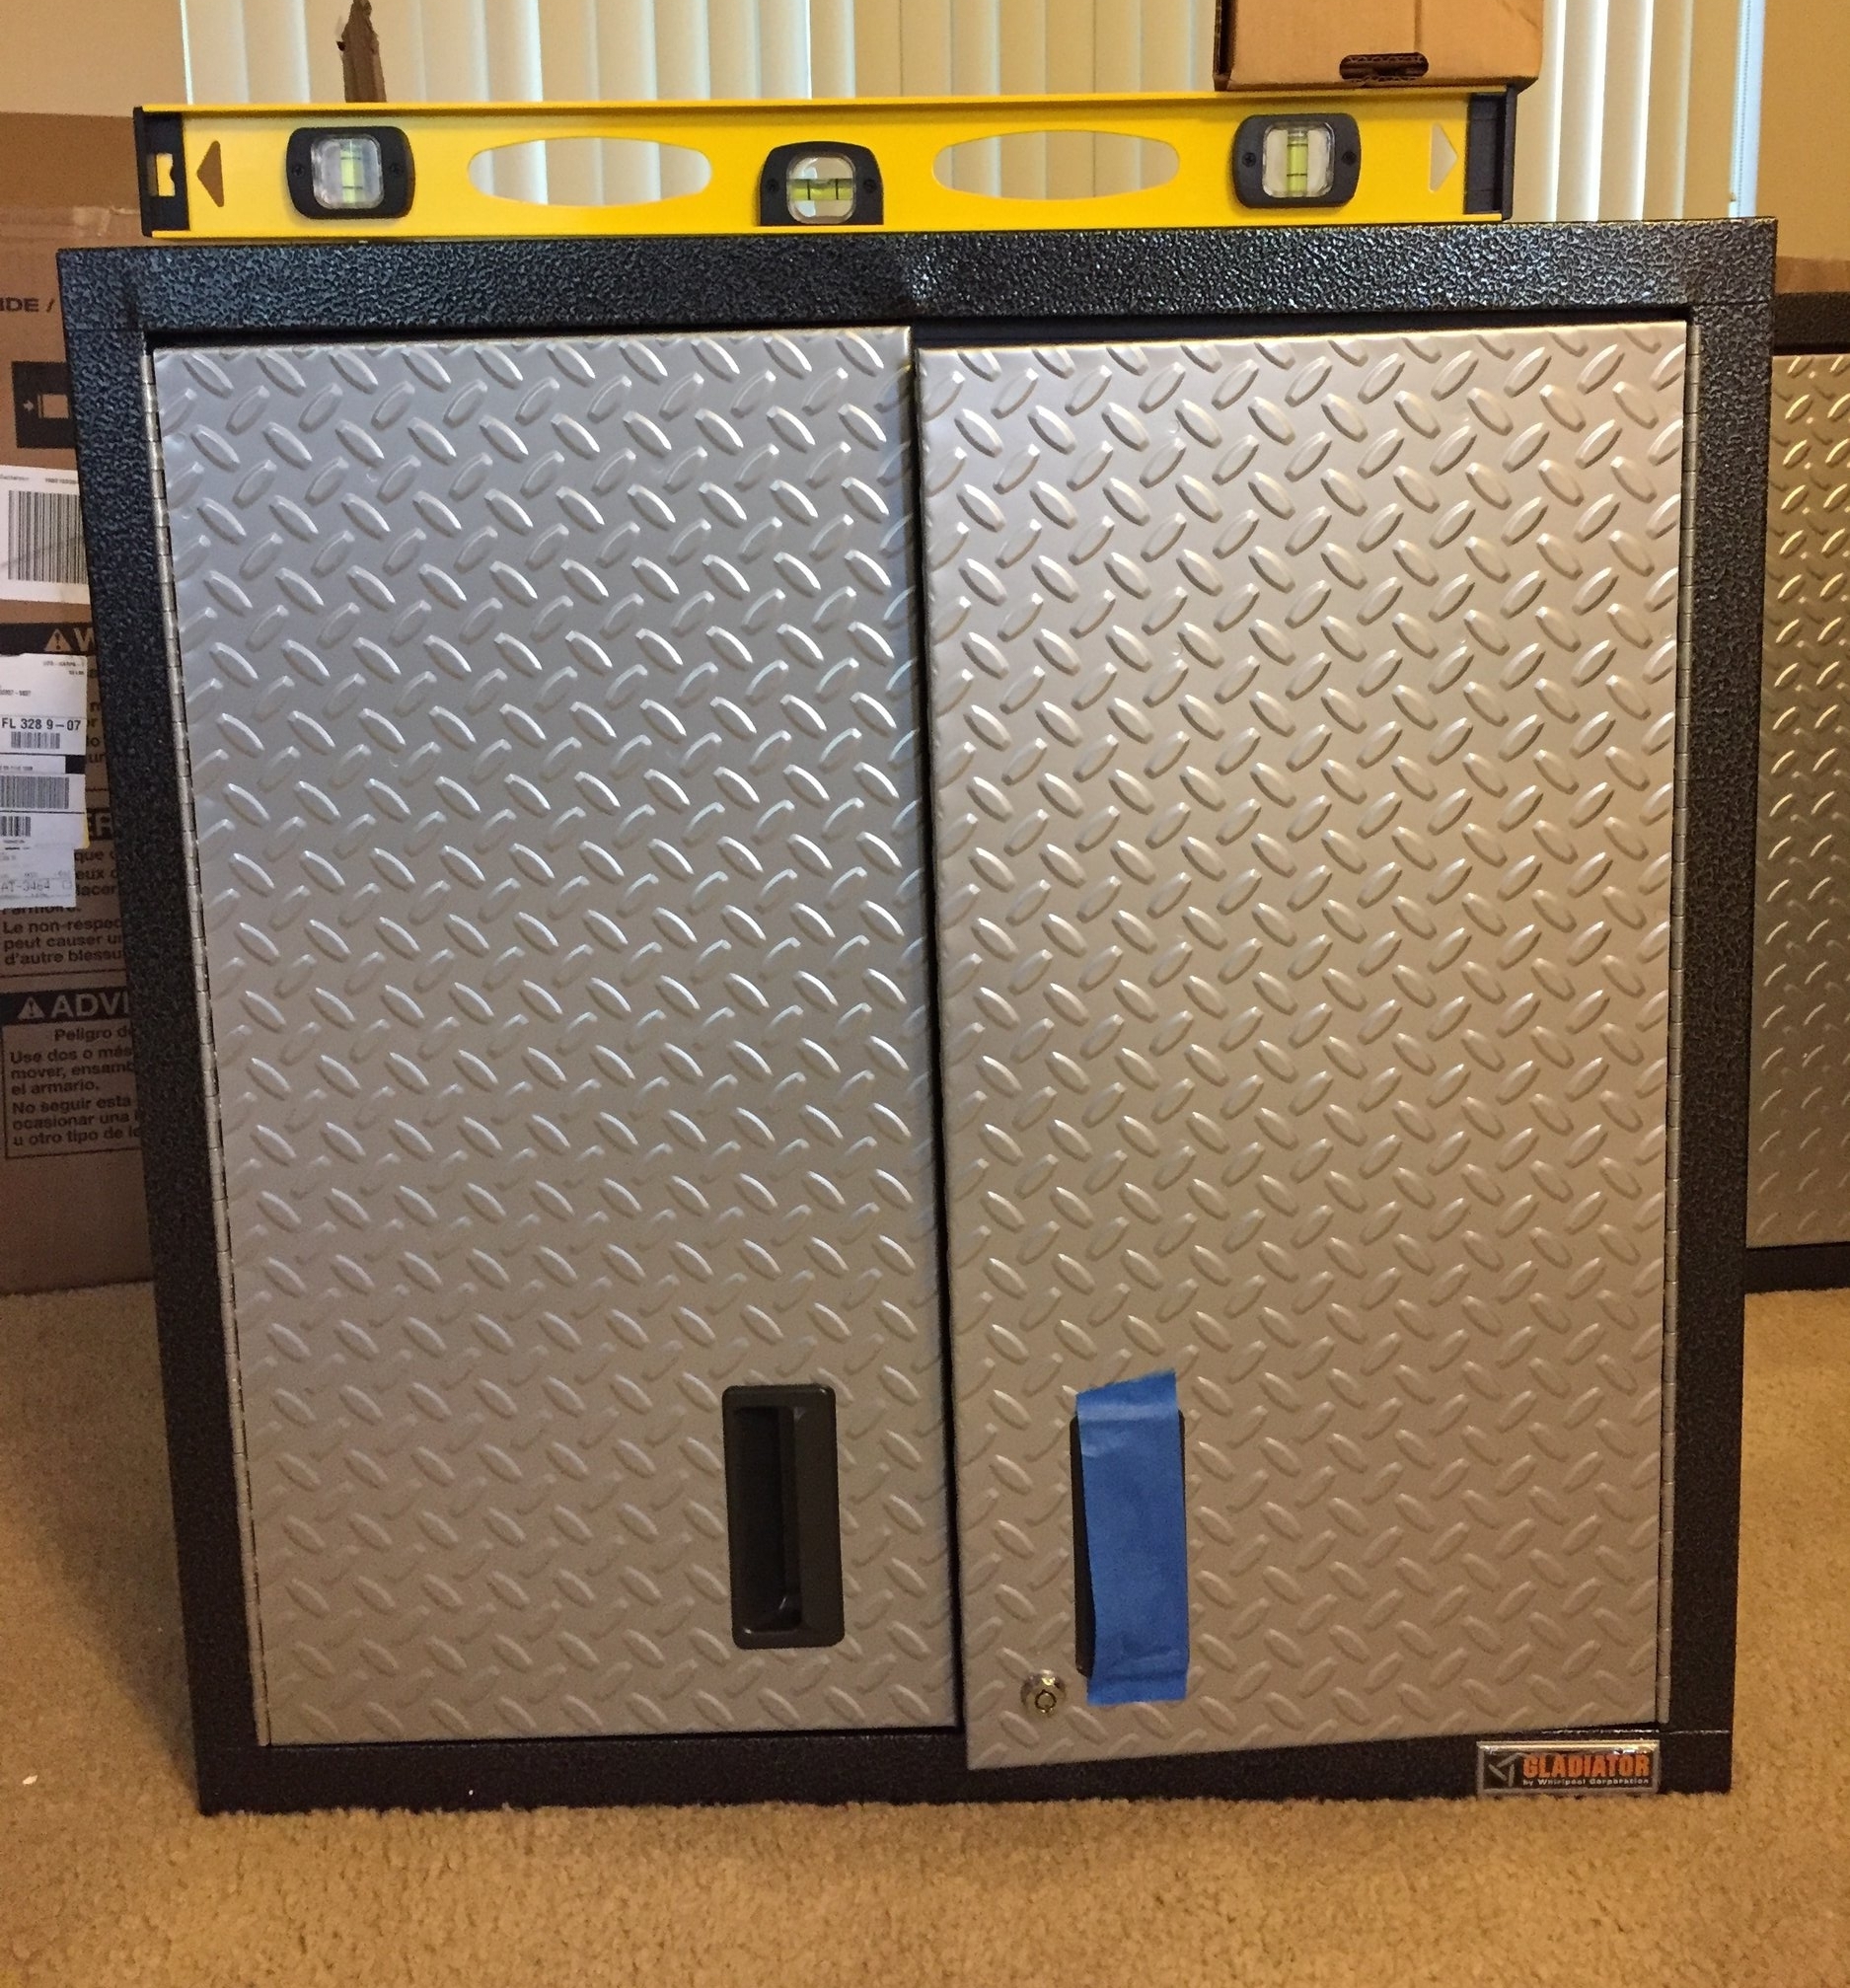
This one was more of a parralelagram then a cabinet.
Amazon did swap them out for me but it was a big pain because they had to be shipped back and it wasn't fun carting those back to the UPS store to send them out.
Top tip: When they go on sale on Amazon they are usually also on sale at Sears or a home improvement store and you can order online and pickup at the store. Set up a notification for sites like SlickDeals.com for sales on these.
I bought the rolling taller cabinet from Sears when it was on sale and found the 8ft workbench on ebay. It commonly goes on sale at Sam's Club if you or someone you know has a membership.

I eventually bought two more cabinets to replace some smaller MDF cabinets. This is when things started to spiral out of control and I really jumped into this project.

I installed some new circuit breakers and power outlets over the workbench.

I ran a 240V line to my air compressor and re-wired the motor to convert it from 120V to 240V.
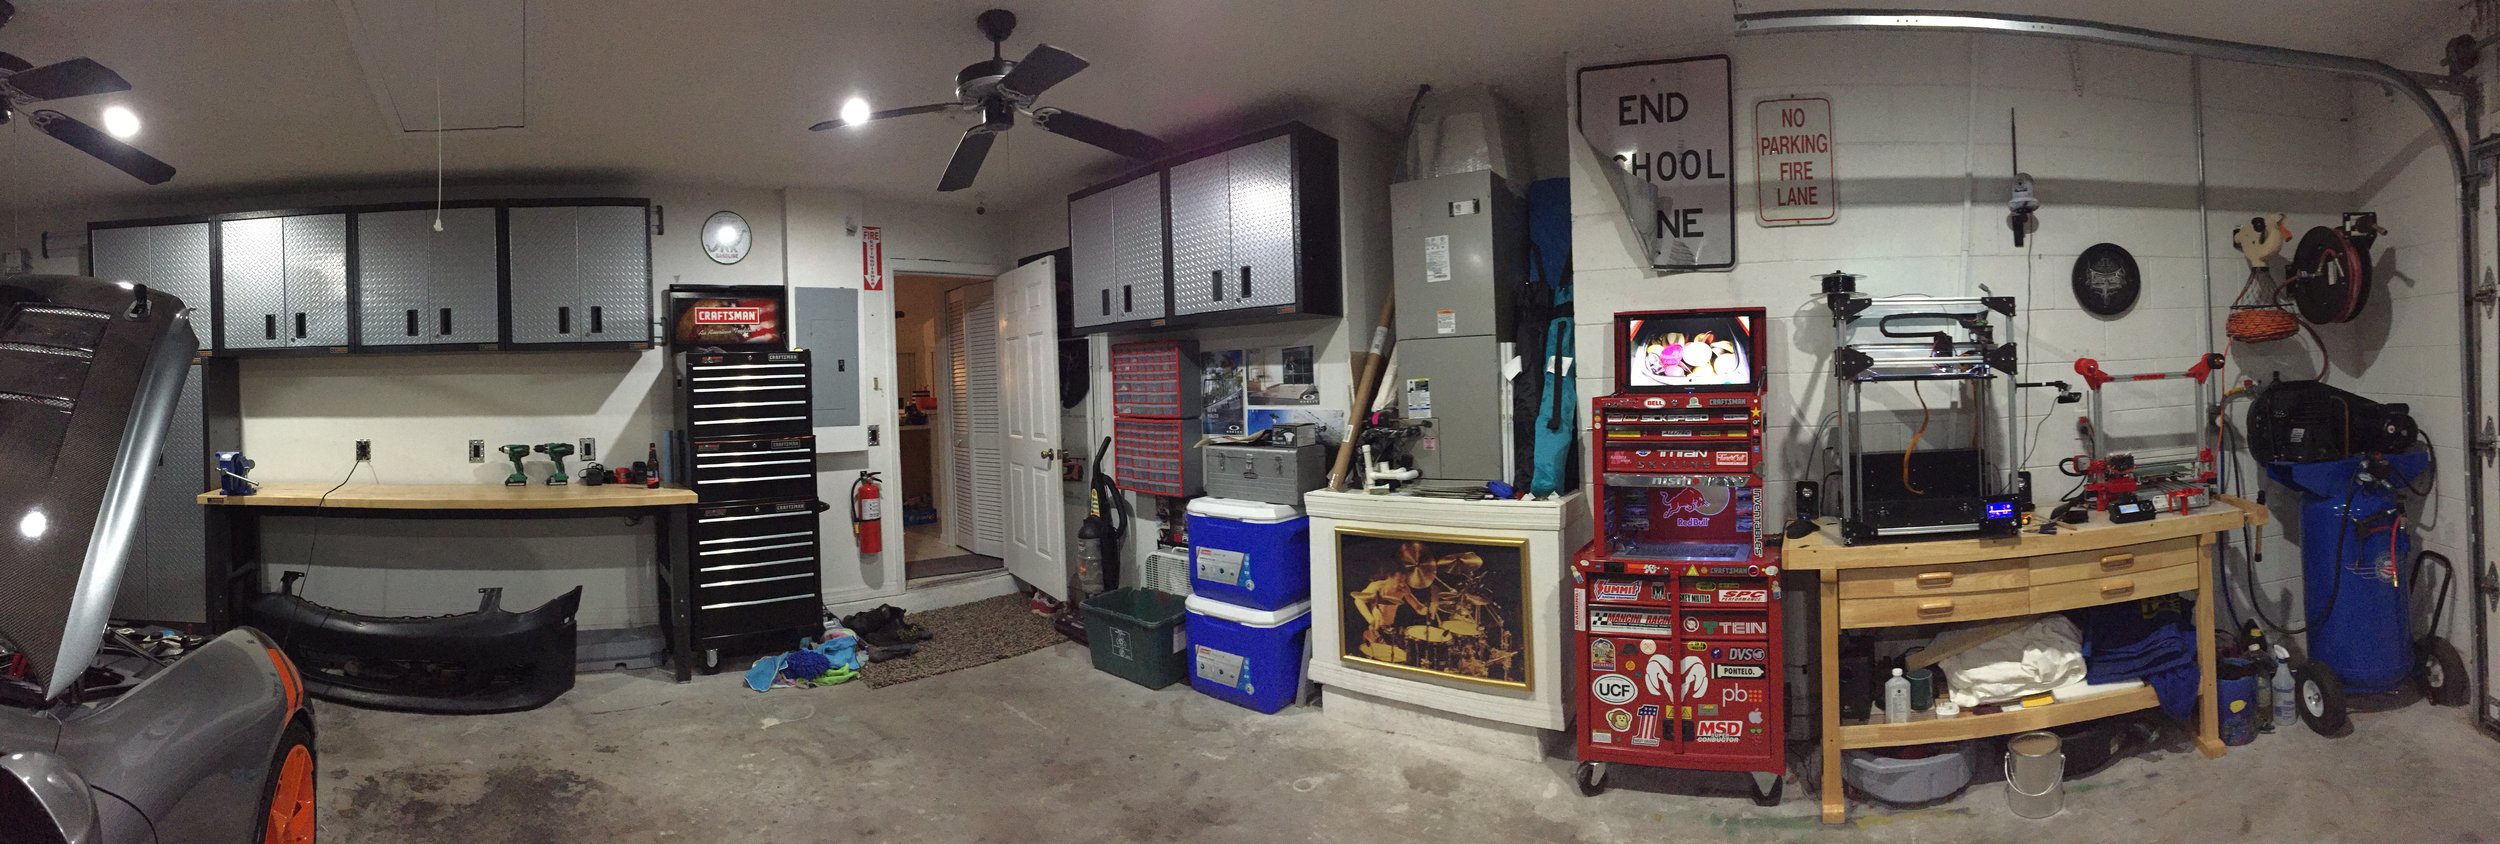
The new power outlets and workbench allowed me to re-purpose the old workbench for the 3D printers and move the FT-5 out into the garage.

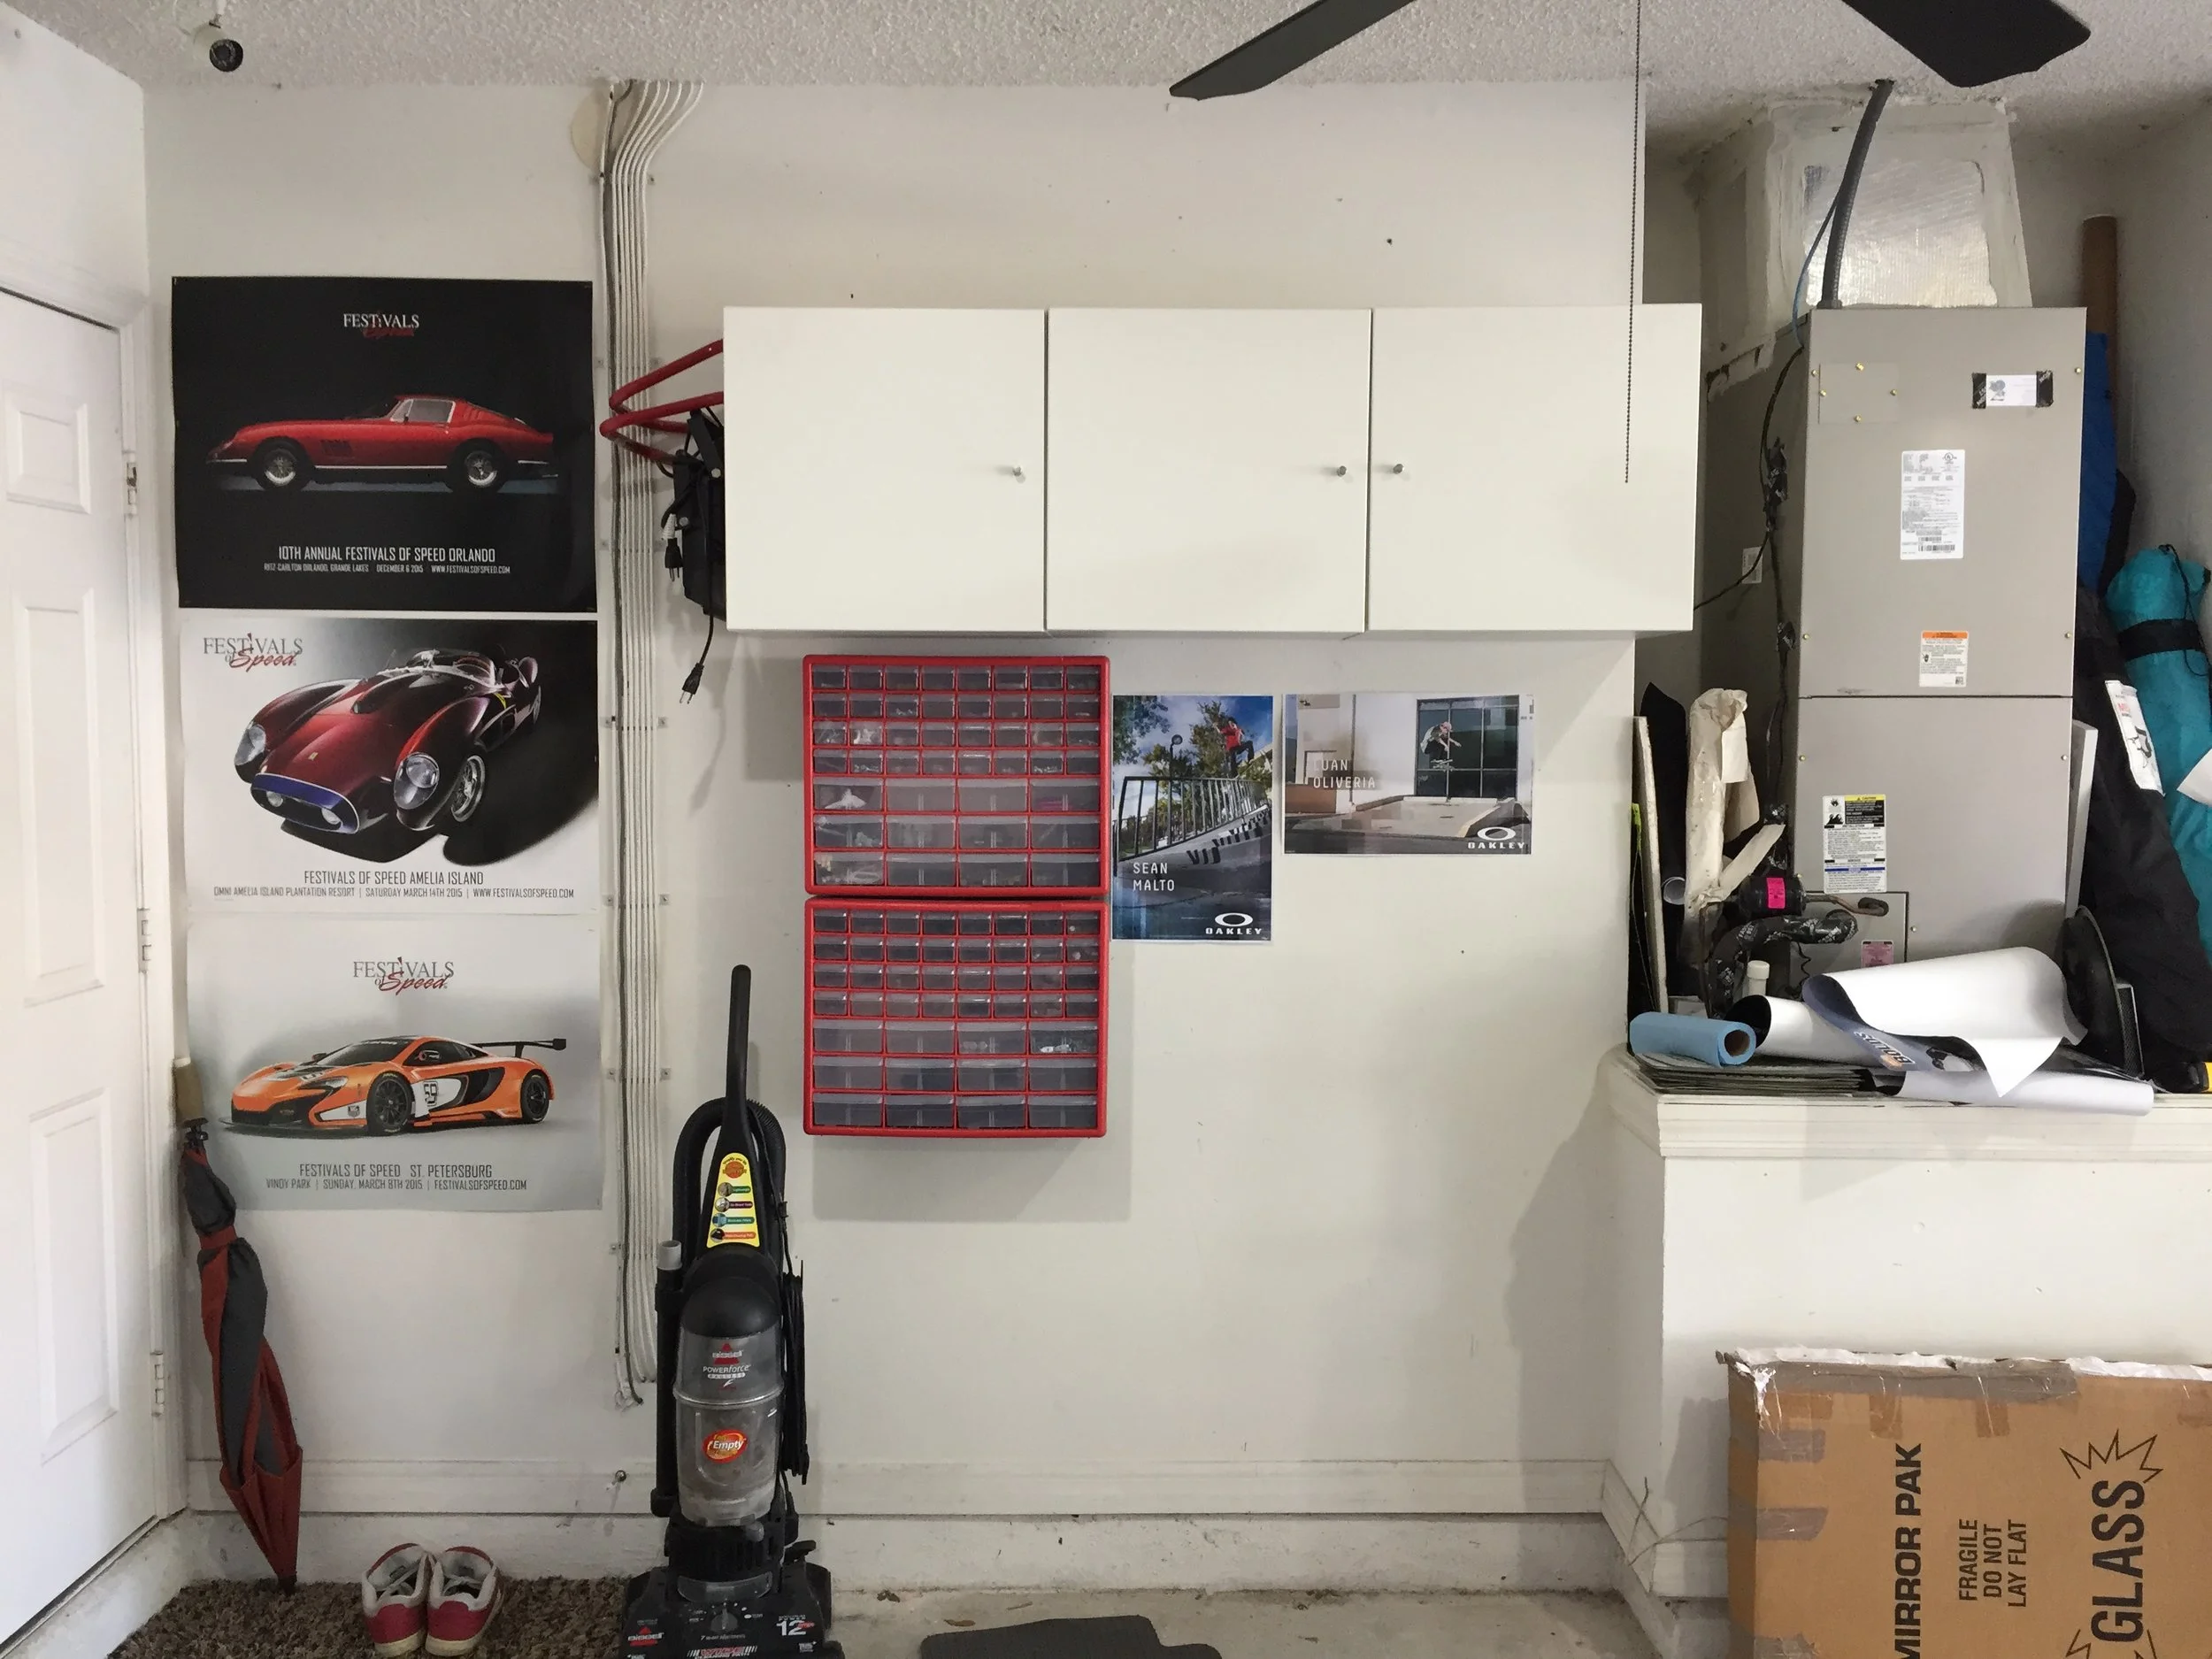
Next up was some pegboard and a TV and Roku that I "borrowed" from the guest room.
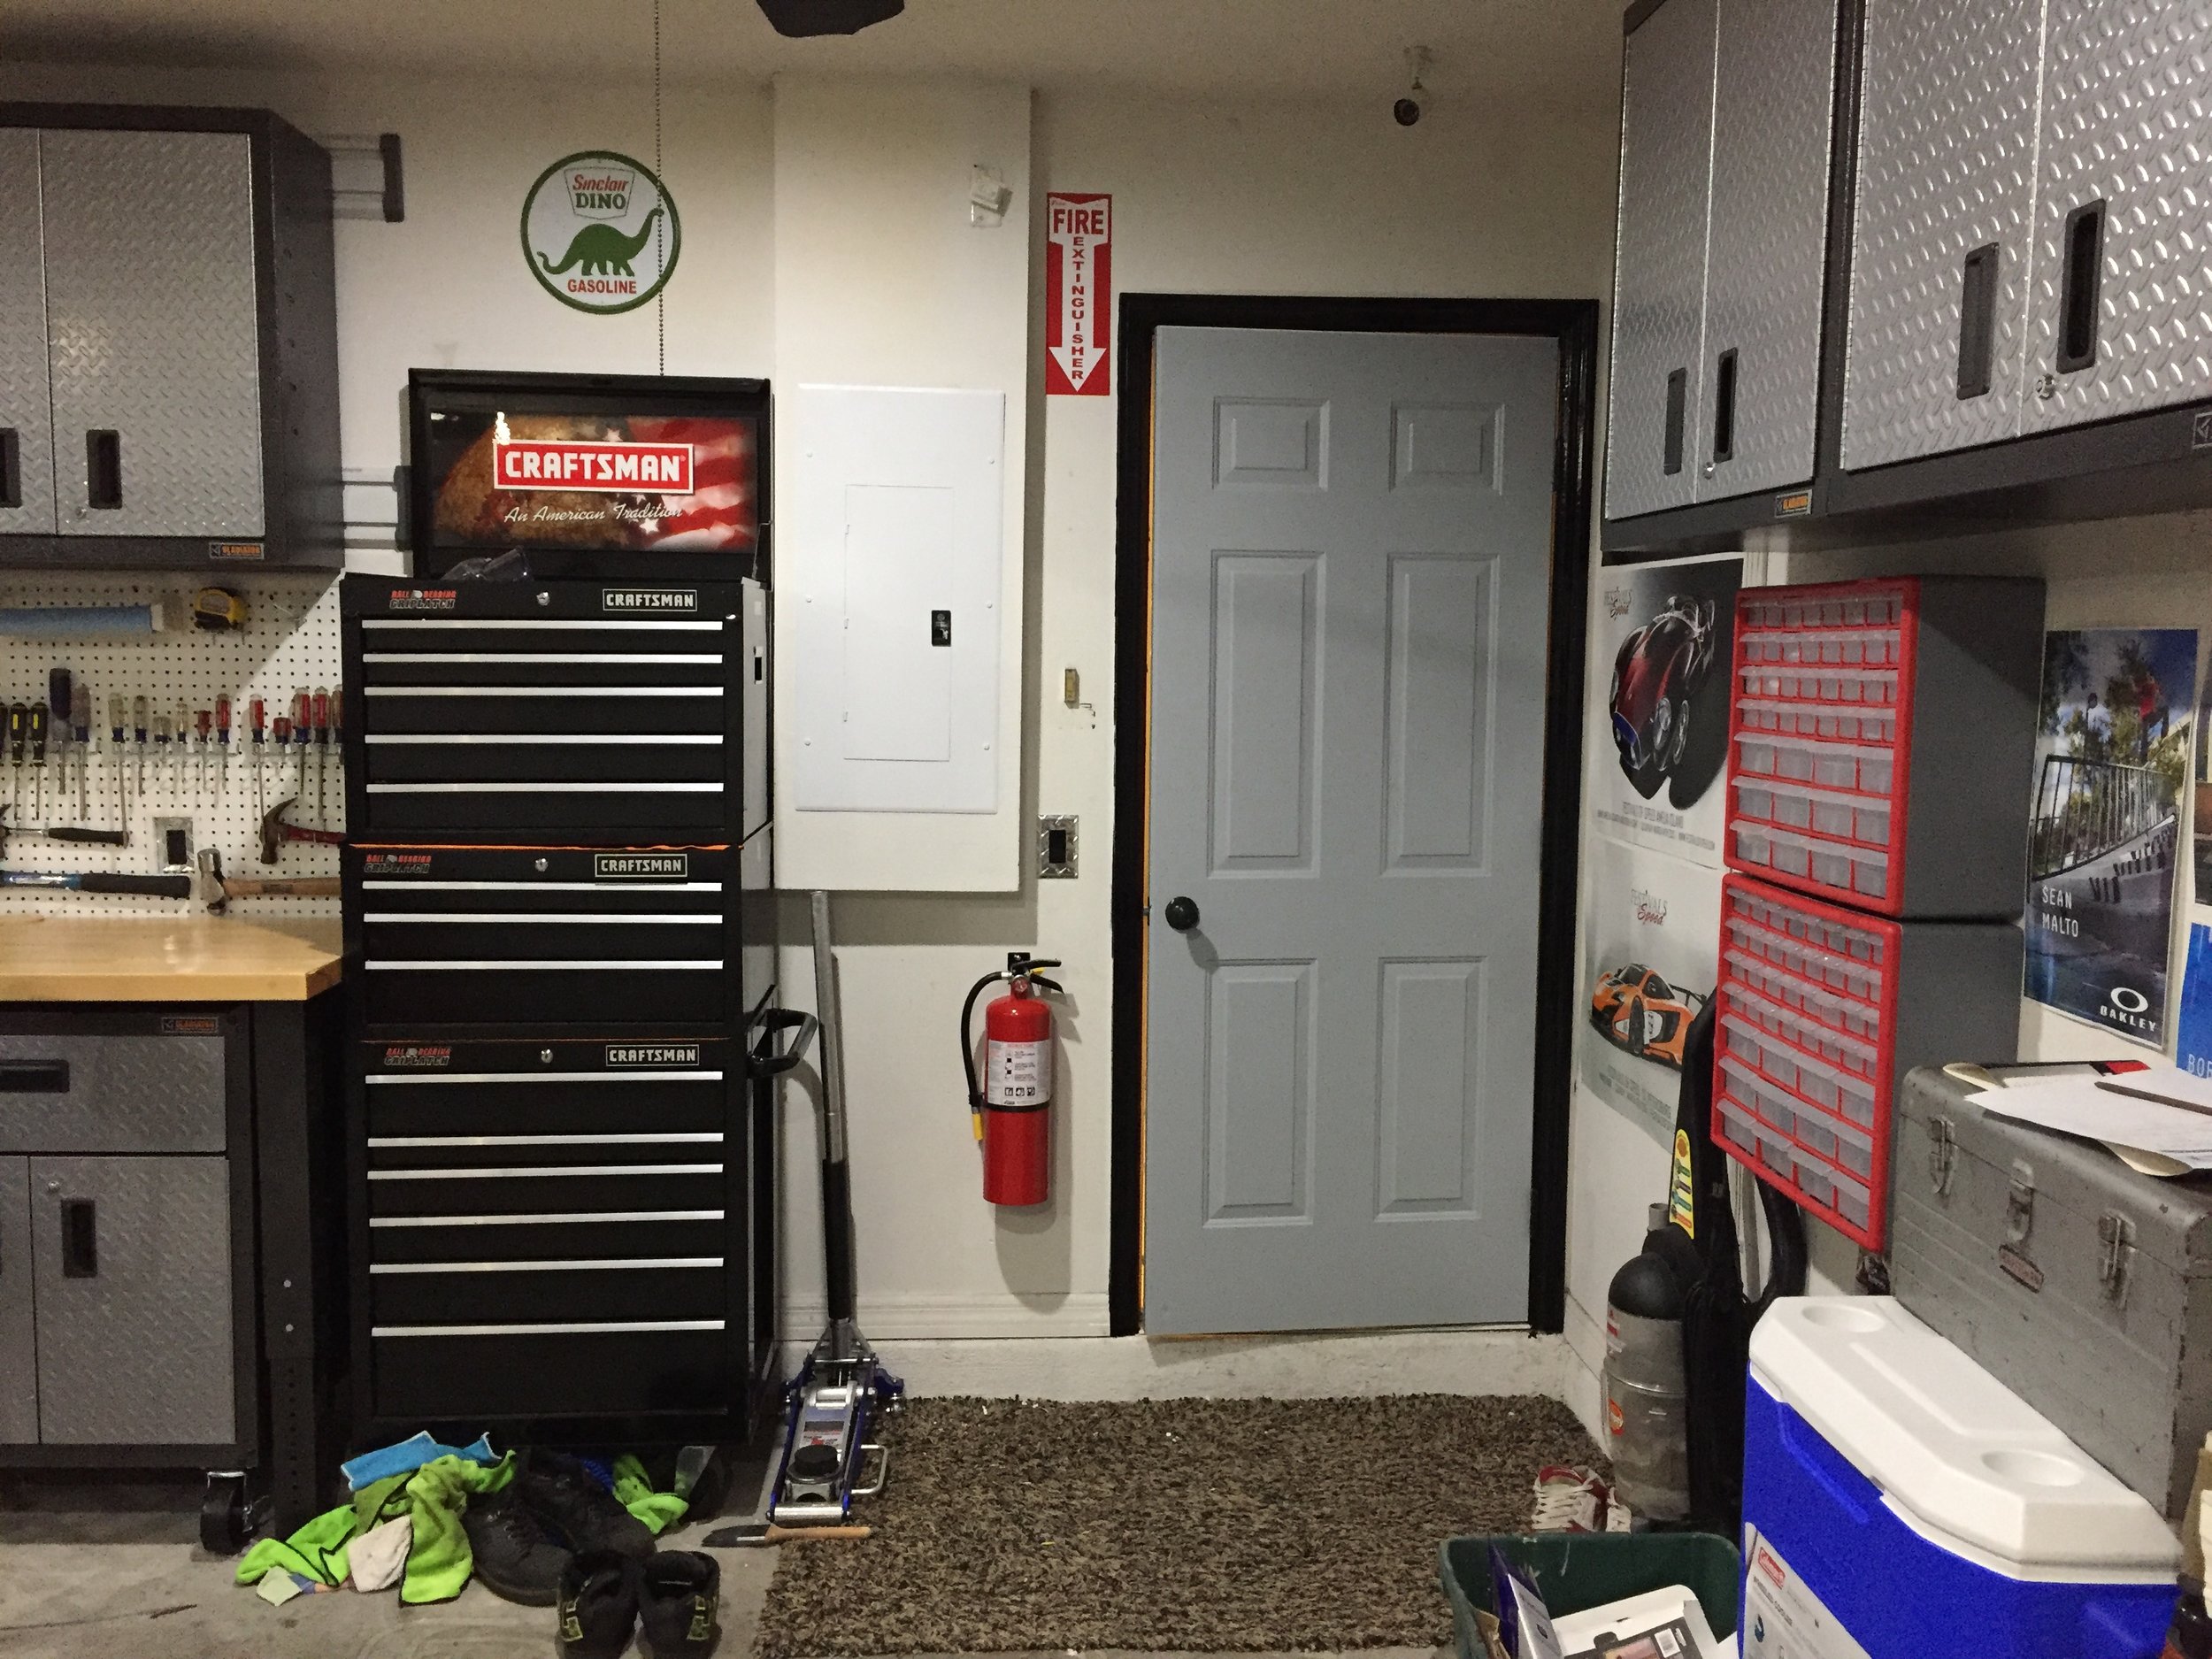
I painted the circuit breaker panel cover white so it would blend in more and then decided to make the door to the kitchen stand out more while looking more like the cabinets. After I was done I realized that was kind of dumb as now it looks like a primered door. Whatever; it is better than a dirty off-white door with the paint wearing off. You may also notice there is one of two bottom rolling cabinets under the workbench.
Black Friday was an expensive day for me. I bought those two bottom rolling cabinets for under the workbench and finally decided to do something about the floor. I didn't like the idea of spending 2-3 weekends epoxy coating the floor. I had done it before at another house and the thought of moving stuff back and forth across the garage floor and leaving all 3 cars in the driveway throughout the entire process wasn't very appealing to me. So I did a lot of research on garage floor tiles and settled on tiles made by SnapLock Industries. They are the manufacturer for many floor tiles including Race Deck flooring. The tiles I chose were from Garage Flooring LLC. and I went with their HD Flow Through tile. It is a 12" ribbed tile and as far as I can tell it is the exact same tile as the Race Deck Free-Flow tile. It even interlocks with their other tiles.
Before laying the tiles down I swept the floor and put down a single layer of landscaping weed control fabric. This does two things helpful. 1. It helps dampen the clicking sounds that plastic tiles tend to make when walked on. 2. It provides a uniform colored base that is slightly visible through the tiles. That is helpful when your floor looks as stained as mine.


After installation I still wasn't quite done. I wanted to add some smooth tiles and put vinyl decals representing the cars that usually park in that space.

Where the Lancer goes.


I also didn't want a typical door mat so I installed some carpet tiles that interlock with this system and now I have a flush mount door mat.
So I know this was a rather long post but it was a very long project and timeline. I hope you enjoyed it and if you have any questions please leave a comment and I would be happy to answer them.